
 by
by SonarQube Server :
SonarQube Server is an open-source platform designed to continuously inspect code quality throughout the development process. It provides developers and teams with tools to analyze, track, and manage code quality, security vulnerabilities, and technical debt in their software projects.
Key features of SonarQube Server :
- Code Quality Analysis: SonarQube performs static code analysis to identify code smells, bugs, vulnerabilities, and security issues in the source code.
- Code Coverage: It measures code coverage to determine the percentage of code covered by automated tests, helping developers assess the effectiveness of their test suites.
- Customizable Rulesets: SonarQube allows users to define and customize coding rules and quality profiles based on their project requirements and coding standards.
- Integration with CI/CD Pipelines: SonarQube integrates seamlessly with popular Continuous Integration (CI) and Continuous Deployment (CD) tools like Jenkins, Azure DevOps, and GitLab CI/CD, enabling automated code analysis as part of the development workflow.
- Dashboard and Reporting: It provides a centralized dashboard with comprehensive reports and visualizations, allowing teams to monitor code quality trends, identify areas for improvement, and track progress over time.
- Issue Tracking: SonarQube creates actionable issues and recommendations based on code analysis findings, facilitating collaboration among team members to address identified issues and improve code quality.
- Support for Multiple Languages: SonarQube supports a wide range of programming languages, including Java, C/C++, C#, JavaScript, Python, PHP, and more, making it suitable for diverse development environments.
Overall, SonarQube server is a useful tool for programmers, quality assurance teams, and project managers to maintain high code quality standards, improve system stability, and provide stable and maintainable applications.
Install SonarQube Server Step-by-Step :
Step 1: Prerequisites
To install SonarQube Server Make sure your system meets the following requirements:
- Operating System: SonarQube is compatible with various operating systems, including Windows, Linux, and macOS.
- Java: SonarQube requires Java Runtime Environment (JRE) or Java Development Kit (JDK) version 11 or later.
Step 2: Download SonarQube
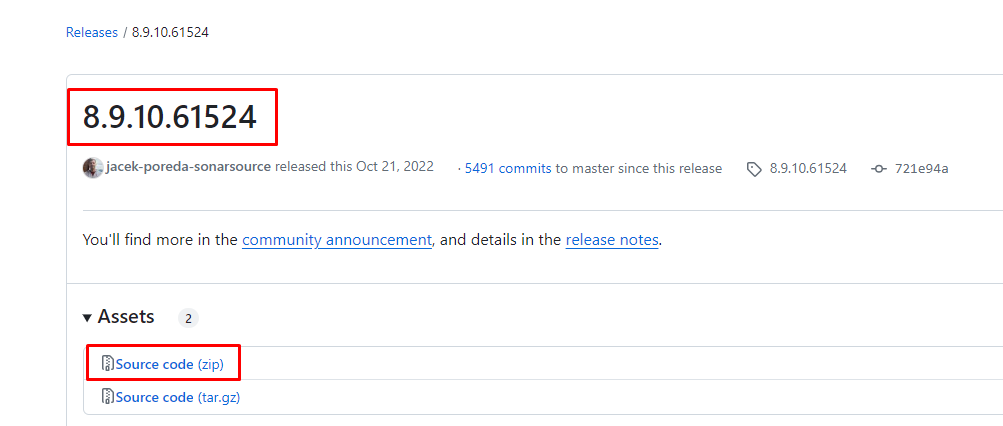
- Go to the SonarQube download page to get the 8.9.10.XXXXX version.
- Choose the distribution that matches your operating system.
- Download the ZIP file to your machine.
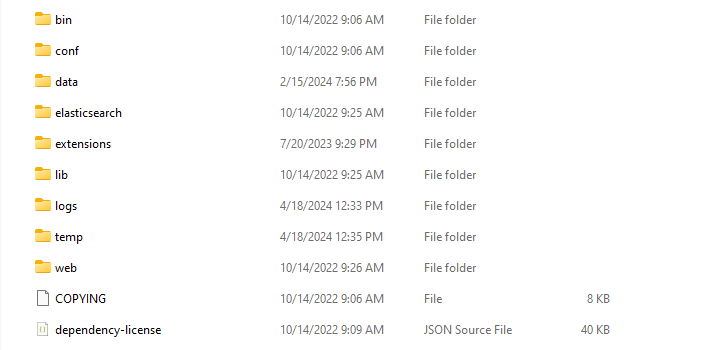
Step 3: Extract the SonarQube Package
- Once the download is complete, extract the downloaded archive to a location on your system.
Step 4: Specify the Java path in SonarQube server
To specify the Java path in SonarQube server, you typically need to modify the wrapper.conf file. This file is used to configure the Java Virtual Machine (JVM) options and environment settings for SonarQube. Here’s how you can specify the Java path:
- Locate the
wrapper.conffile: This file is usually found in theconfdirectory within the SonarQube installation directory. - Open
wrapper.confin a text editor: Use a text editor to open thewrapper.conffile for editing. - Find the
wrapper.java.commandproperty: Look for thewrapper.java.commandproperty in the file. This property specifies the path to the Java executable. - Set the Java path: Update the
wrapper.java.commandproperty with the path to your Java
wrapper.java.command=C:/Program Files/Java/jdk-11.0.16.1/bin/javaStep 5: Configure SonarQube Server (Optional)
- Navigate to the
confdirectory inside the extracted SonarQube Server folder. - Open the
sonar.propertiesfile in a text editor. - Configure the server settings such as database connection, listening port, and web context. Ensure to provide appropriate values for your environment.
- Save the
sonar.propertiesfile.
# Configure MySQL database connection
sonar.jdbc.username=root
sonar.jdbc.password=admin
sonar.jdbc.url=jdbc:mysql://localhost:3306/sonarqube?createDatabaseIfNotExist=true&useUnicode=true&characterEncoding=utf8&rewriteBatchedStatements=true&useConfigs=maxPerformance
sonar.jdbc.driverClassName=com.mysql.cj.jdbc.Driver

# Configure MySQL dialect
sonar.jdbc.dialect=mysql

# Configure web server settings
sonar.web.host=0.0.0.0
sonar.web.port=9000
sonar.web.context=/sonarqube
If you encounter the “Unsupported JDBC driver provider: MySQL” error while configuring SonarQube with MySQL, here are the steps to resolve it:
- Download MySQL JDBC Driver: Get the MySQL JDBC driver from the official MySQL website or Maven Central.
- Place JDBC Driver in SonarQube Directory: Put the JDBC driver JAR file in the
extensions/jdbc-driverdirectory or thelibdirectory of your SonarQube installation. - Update SonarQube Properties: In the
sonar.propertiesfile, set the JDBC driver class tocom.mysql.cj.jdbc.Driverand configure the JDBC URL for your MySQL database. - Restart SonarQube: Restart the SonarQube server to apply the changes and allow it to recognize the MySQL JDBC driver.
If you do not provide a separate database for SonarQube, it will use an embedded H2 database by default. The embedded H2 database is suitable for evaluation and small-scale usage but not recommended for production environments due to its limitations in terms of performance, scalability, and reliability.
Step 6: Start SonarQube
- Open a terminal or command prompt.
- Navigate to the
bindirectory inside the extracted SonarQube folder. - Execute the appropriate script or command to start SonarQube based on your operating system:
- On Windows: Run
StartSonar.bat. - On Unix/Linux/macOS: Run
./sonar.sh start.
- On Windows: Run
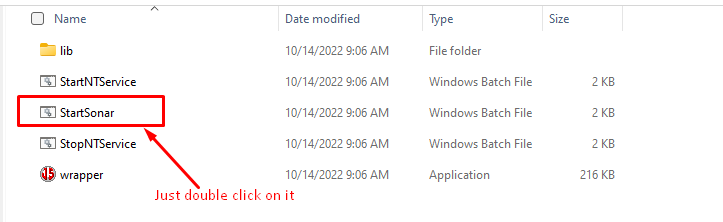
Step 7: Access SonarQube Server Web Interface
- Open a web browser.
- Enter the following URL in the address bar:
http://localhost:9000- If you’ve configured a different port in the
sonar.propertiesfile, replace9000with the configured port.
- If you’ve configured a different port in the
- You should see the SonarQube login page.
- The default username and password are both
admin. You’ll be prompted to change the password upon initial login.


I just could not depart your website before suggesting that I really enjoyed the standard information a person provide for your visitors? Is going to be back often to check up on new posts
Hi my loved one! I wish to say that this post is awesome, nice written and include almost all important infos. I would like to see more posts like this .
This design is spectacular! You obviously know how to keep a reader amused. Between your wit and your videos, I was almost moved to start my own blog (well, almost…HaHa!) Fantastic job. I really loved what you had to say, and more than that, how you presented it. Too cool!
Hi my loved one! I wish to say that this article is amazing, nice written and include almost all important infos. I抎 like to see extra posts like this .
As a Newbie, I am always exploring online for articles that can help me. Thank you
Hmm it looks like your website ate my first comment (it was extremely long) so I guess I’ll just sum it up what I wrote and say, I’m thoroughly enjoying your blog. I as well am an aspiring blog blogger but I’m still new to the whole thing. Do you have any tips and hints for rookie blog writers? I’d really appreciate it.
Please provide me with more details on the topic
Thanks for posting. I really enjoyed reading it, especially because it addressed my problem. It helped me a lot and I hope it will help others too.